How to Divide and Transplant Shasta Daisies
I've always had an affinity for daisies and incorporate them into my perennial beds whenever possible. Daisies attract butterflies and flying insects to the garden, adding both movement and color reminiscent of rolling fields of daisies and the carefree days of summer. Although wild daisies transplant well to the garden bed, I prefer the showy blooms of the giant Shasta daisy.
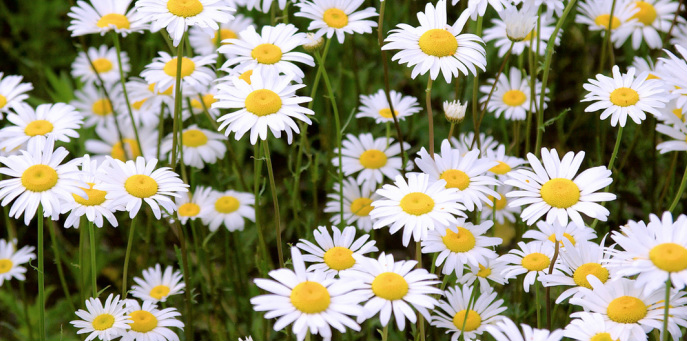
Shasta daisies reach a height of two to three feet producing showy blooms similar to the wild ox-eyed daisy. When added to perennial beds, Shasta daisies make an excellent contrast to nearly any flower and add both movement and depth to the flowerbed. These hardy perennials need lifting and dividing every three to five years to keep them in top shape and producing the biggest and brightest blooms.
Shasta daisies can be transplanted in either late fall or early spring when new growth appears. Spring transplanting may delay blooming slightly, but it is better to divide overgrown perennials in the spring than to delay division until fall. Transplanting produces healthier plants that do not compete for water and nutrients. Overcast or rainy days are best for transplanting; although, you do need to contend with a little extra mess from wet soil.
Shasta daisies reach a height of two to three feet producing showy blooms similar to the wild ox-eyed daisy. When added to perennial beds, Shasta daisies make an excellent contrast to nearly any flower and add both movement and depth to the flowerbed. These hardy perennials need lifting and dividing every three to five years to keep them in top shape and producing the biggest and brightest blooms.
- Dig around the base of the daisies about four inches from the main stems with a spade or garden fork, using care not to damage the roots. Daisies produce large fibrous roots that may extend downward to 10 inches or more.
- Slide the blade of the spade under the entire clump of daisies and lift them free of the soil. Shake the clump to remove excess soil from around the roots. If the soil resists your efforts, remove it with your hands to expose the root ball.
- Pull individual plants apart by grasping the base of the shoots where the roots are attached. If the clump of Shasta daisies is overgrown, you may need to cut some of the roots to separate the plants. Use a sharp knife to make a clean cut between plants, severing roots that have become intertwined.
- Trim away any roots that are discolored, mushy or brittle. Healthy roots are white or tannish-yellow and flexible. Cut off any woody stems or dead foliage that remains from the previous year.
- Replant three to five shoots of the Shasta daisy in a new location that receives six to eight hours of direct sunlight a day. Dig a hole about one foot deep and 10 to 12 inches in diameter. Remove any rocks or roots from the soil. Add two to four cups of well-rotted manure, peat moss, or compost to the hole and mix it in well with the existing soil.
- Position the Shasta daisies in the hole so the crown (the point where the foliage joins the roots) rests at the soil level.
- Fill in around the roots with fresh soil and firm down with your hands to secure the plants and remove air pockets.
- Water thoroughly to moisten the soil to the root level. Keep the soil moist until the transplants are established. Reduce water to once a week.
Shasta daisies can be transplanted in either late fall or early spring when new growth appears. Spring transplanting may delay blooming slightly, but it is better to divide overgrown perennials in the spring than to delay division until fall. Transplanting produces healthier plants that do not compete for water and nutrients. Overcast or rainy days are best for transplanting; although, you do need to contend with a little extra mess from wet soil.