Seed Staring Basics
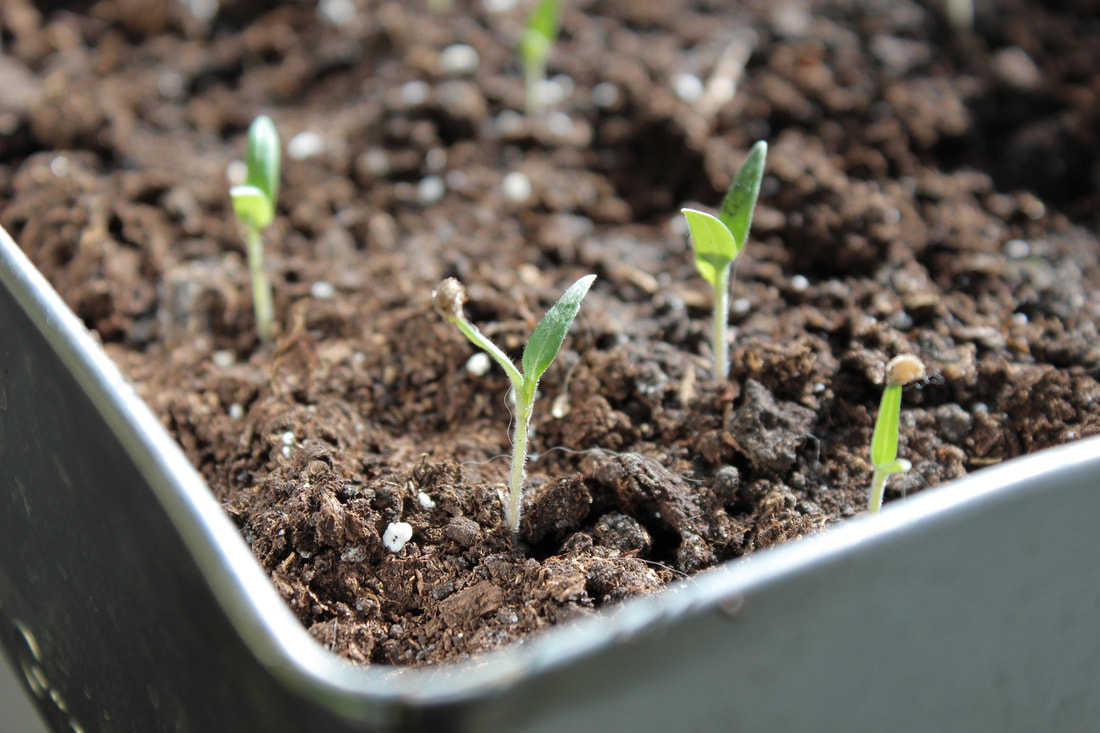
The first leaves to open on seedlings are called cotyledons. Your seedlings do not need potting soil or fertilizer until true leaves form.
When should you start garden seeds indoors?
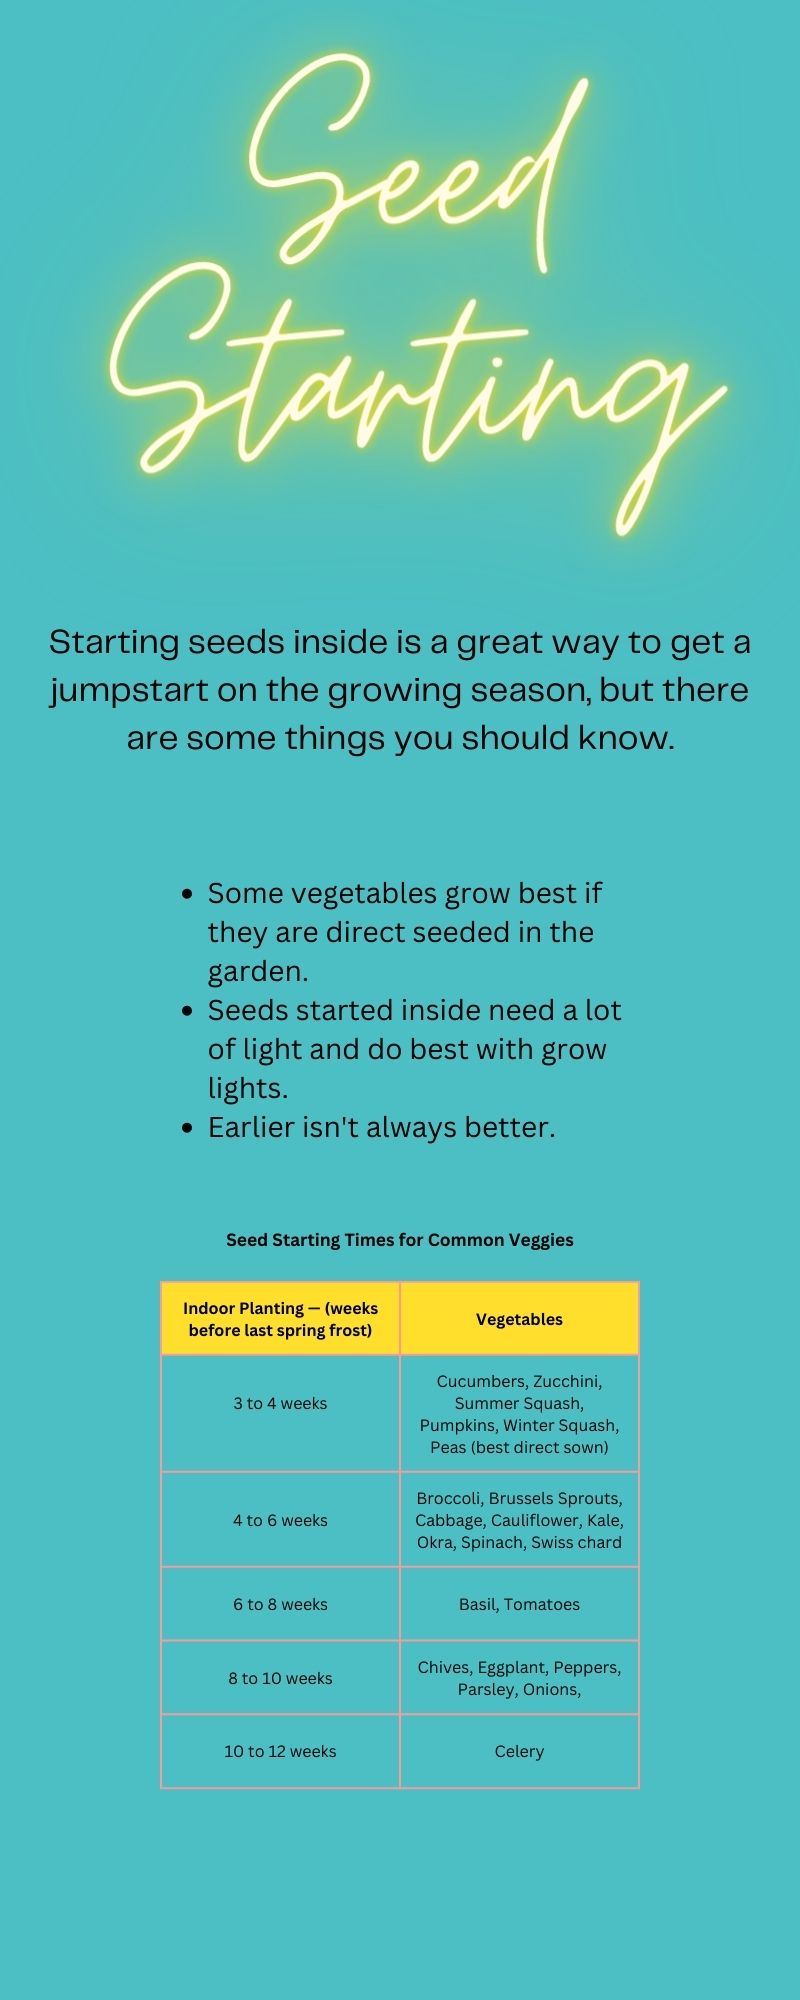
Refer to the above chart or check the seed packet for information on starting the seeds inside. Most seed packets list the number of weeks needed for seedlings to reach the right size for planting outside.
- Determine the date of the last expected frost in your area, or determine the date you want to plant your seedlings outside.
- Count back the appropriate number of weeks on the calendar.
- Note the date for starting your seeds inside.
Can you start seedlings earlier than the recommended dates?
Many new gardeners, especially those in areas with short growing seasons, assume that planting seeds earlier than recommended will produce large healthy plants for transplanting to the garden and is a good way to get a jumpstart on the growing season.
Although it’s a logical assumption, unless you have a home greenhouse and good supplemental lighting, starting them too early may do more harm than good.
Although it’s a logical assumption, unless you have a home greenhouse and good supplemental lighting, starting them too early may do more harm than good.
What happens if you start your seedlings too early?
Two basic problems arise from starting seeds too early, says the University of Arizona Extension.
- Unless you live in a southern climate, the strength of the sun's rays simply is not strong enough to support healthy plant growth in late winter. Seedlings emerge and stretch to reach more light creating tall, spindly plants.
- Seedlings that are started too early become weak and leggy due to both inadequate light and improper temperatures (either too warm or too cold). Once transplanted to the garden, these plants rarely produce well.
Do you need to use seed starter?
Seed starter provides everything seeds need to germinate.
If you have potting soil sitting around it may be tempting to use it for starting your seeds, but it really isn't a good idea. Seeds do not need soil to germinate and will germinate better (and faster) in seed starting mix as it provides everything the seeds need to germinate.
In addition, the soilless mix holds moisture well without becoming soggy, making caring for your new seedlings easier.
Potting soil is too dense and heavy for germinating seeds efficiently.
In addition, the soilless mix holds moisture well without becoming soggy, making caring for your new seedlings easier.
Potting soil is too dense and heavy for germinating seeds efficiently.
Planting Seeds in Seed Starter
- Pour your seed started into a bucket or large bowl and moisten it with warm water. The mixture should feel like a damp sponge but should not be soggy.
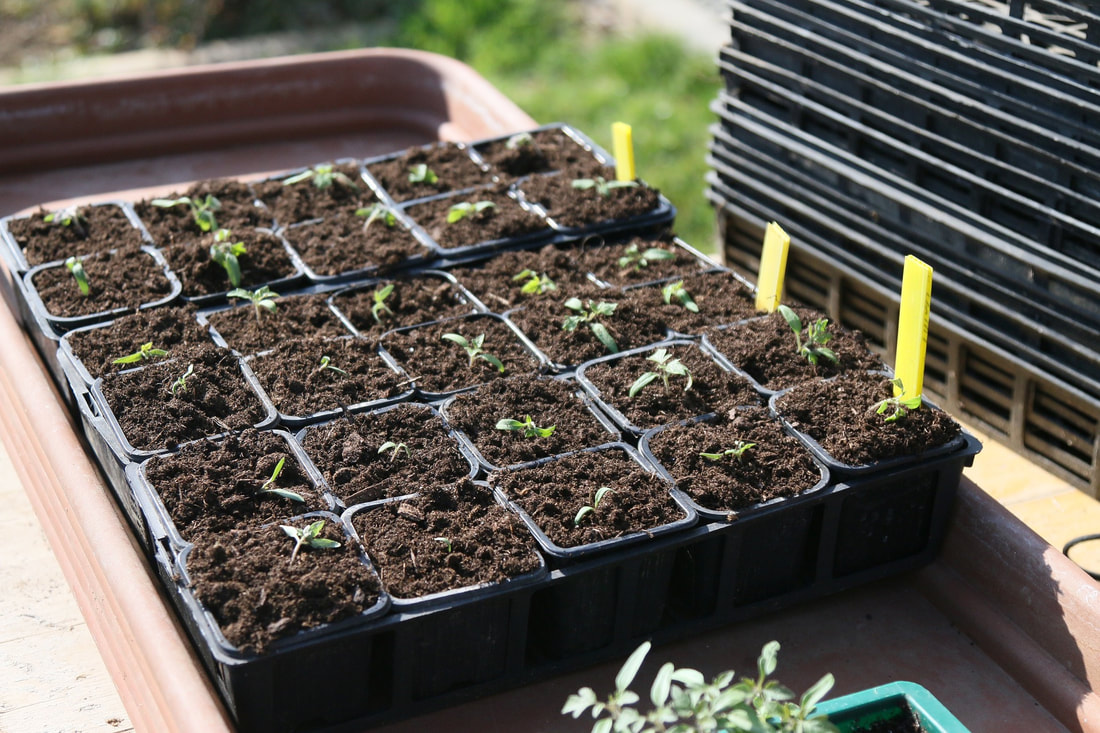
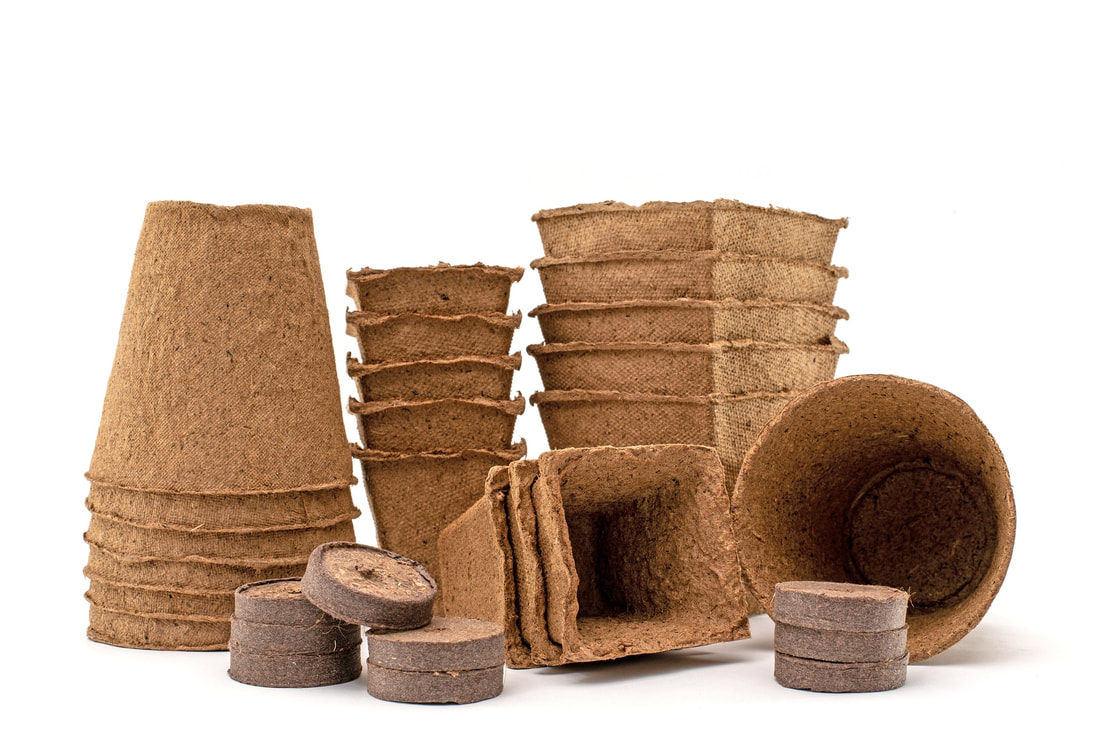
- Fill trays or pots with the seed starter. You can purchase seed starting trays with plastic domes for seed starting, but this is not necessary. You can use peat pots, peat pellets, recycled plastic containers, disposable cups or even old egg cartons to start seeds.
- Plant the seeds to the recommended depth on the package. As a rule, seeds should be planted twice the depth as the width of the seed, but keep in mind that some seeds (such as lettuce, savory and some flowers) need light to germinate and shouldn't be covered at all. Check the instructions on the seed packet if you are unsure whether your seeds need light to germinate.
- Mist the soil to moisten the seeds.
- Cover with plastic wrap (or replace the plastic dome on your trays) to keep in moisture and prevent your seeds from drying out.
- Place the tray under a grow light.
- Check the seed daily and remove the plastic wrap when the seedlings emerge.
When do you transplant seedlings to soil?
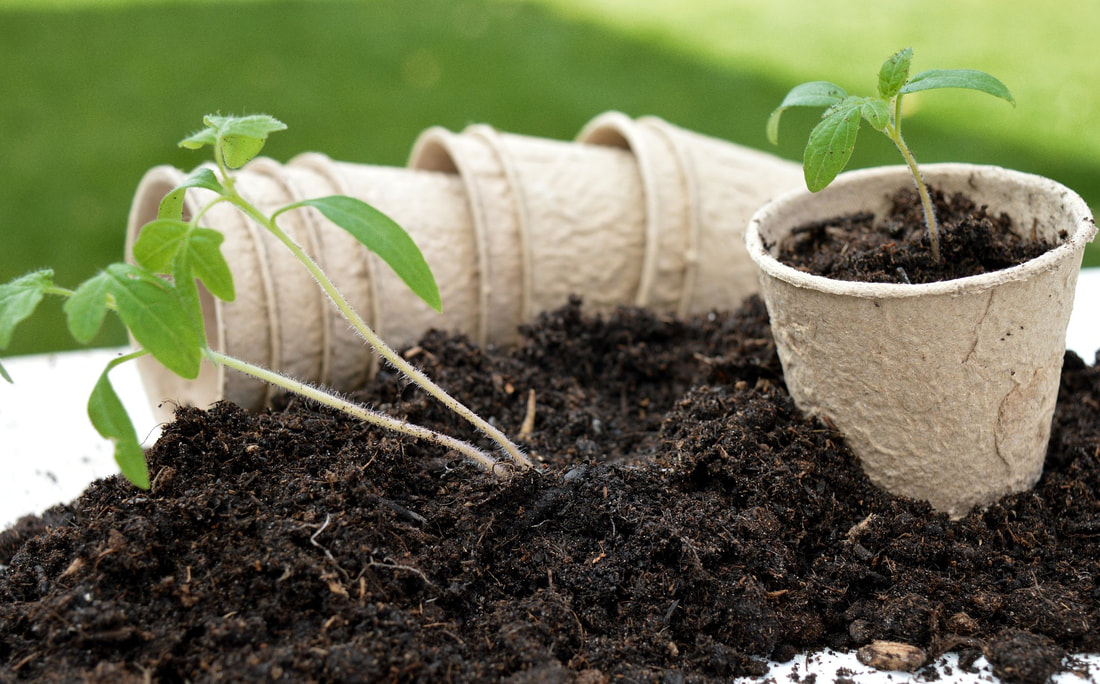
Tomato seedlings with the first set of true leaves.
Seed starter provides the seeds with everything they need to germinate, but the first tiny leaves that appear aren't true leaves. Instead, they are called cotyledons, providing the seedling with the energy it needs to grow its first true leaves. Cotyledons cannot perform photosynthesis for the plant. New leaves called 'true leaves' will grow soon and begin performing photosynthesis to help your seedlings grow.
Once your seedlings develop true leaves, they need to be transplanted into the soil so they can absorb nutrients and grow.
Once your seedlings develop true leaves, they need to be transplanted into the soil so they can absorb nutrients and grow.
When do you start fertilizing seedlings?
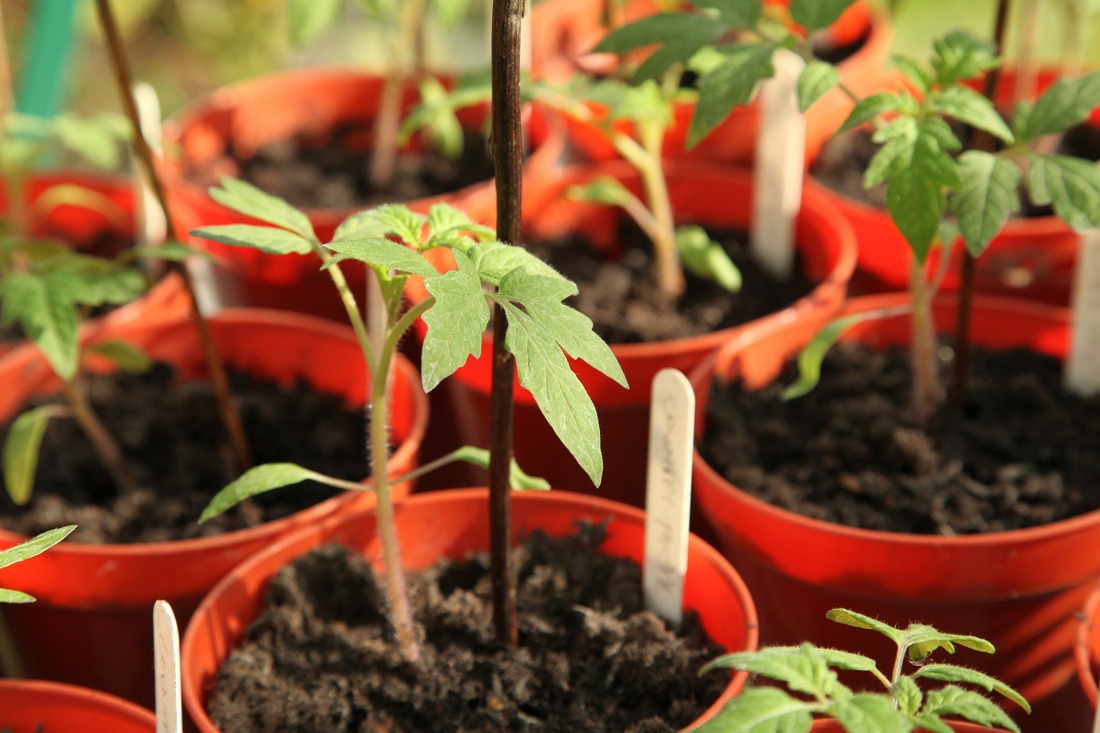
Tomato seedlings with the second set of true leaves need fertilizer.
Begin fertilizing once a week with water-soluble fertilizer mixed to ¼ strength as soon as the seedlings have their second set of true leaves.

How do you transplant seedlings to the garden?
Transplant seedlings to the garden once the danger of frost has passed in your area. Some plants, like tomatoes and peppers, are best planted when nighttime temperatures remain above 50 to 55 degrees.
- Position the plants in prepared soil so that they rest at their original planting depth.
- Firm the soil around the roots with your hands and press down to secure the plant.
- Water thoroughly to moisten the soil to the root level.
- Keep soil moist until new growth appears and then resume the recommended watering schedule for your plants.
- If you are planting seedlings that will need staking, such as the tomato above, erect the stakes now.